The Ultimate Guide to Choosing Your First Custom Table Tennis Rubber
The moment you realize your pre-made racket is holding you back - perhaps after joining a club or facing a spin you just can't return - is a massive milestone in your table tennis journey. It signals that you are ready to dive into the deep end of custom equipment, but this excitement comes with a warning: there is a specific order to the madness.
You must choose the soul of your racket first, so if you haven't selected a blade yet, we strongly recommend starting with our guide on Choosing Your First Custom Table Tennis Blade. Once that foundation is laid, you face the minefield of rubber selection, where thousands of options promise "explosive power" and "maximum spin."
It is dangerously easy to fall into the Equipment Junkie (EJ) Speed Trap, buying gear that is too fast for your developing strokes. This guide acts as the companion to your blade choice, walking you through exactly why "faster" is rarely "better" and helping you find the forgiving setup that will actually let you master the game.
The Golden Rule: Speed is the Enemy of Learning
The most common mistake beginners make is buying the equipment their favorite pro player uses. You might see Ma Long or Fan Zhendong using a specific rubber and think, "If it's good enough for them, it's good enough for me."
This is a fatal error.
Professional rubbers (like the Butterfly Tenergy or DHS Hurricane 3 National) are designed for players with near-perfect technique who can generate massive force. If a beginner uses these rubbers:
Copy the Philosophy, Not the Gear
While you shouldn't buy the exact sheets pros use, you should copy the philosophy behind their setups. Pros meticulously balance their rackets - often pairing a harder rubber on the forehand (for power) with a slightly softer rubber on the backhand (for control and safety). You can apply this same logic to your beginner bat by selecting different hardness levels appropriate for your skill, rather than buying maximum speed.
But why do pros use different rubbers on each side? The answer lies in biomechanics.
The Biomechanics: Why Your Forehand and Backhand Need Different Tools
A common mistake I see is players putting the exact same rubber on both sides of their racket. While this is fine for absolute beginners, as you develop your technique, you need to respect the fact that your body moves differently on the left and right.
The Forehand: The Powerhouse
On your forehand side, you have an "Open Kinetic Chain." You can rotate your hips, engage your legs, and turn your waist almost 90 degrees. You have a long swing arc and massive potential for acceleration.
The Gear Implication: Because YOU are generating massive power with your whole body, you can handle a harder, tackier rubber (like a DHS Hurricane 3 or a hard ESN rubber). You have enough physical force to "activate" the hard sponge and compress it. You don't need the rubber to give you free speed; you need it to give you grip and control.
The Backhand: The "Restricted" Snap
Your backhand is anatomically restricted. You cannot rotate your hips through the ball because your arm crosses your body. Your swing is shorter, relying mostly on your forearm snap and wrist flick.
The Gear Implication: Because you cannot generate the same raw power as your forehand, you need the equipment to help you. This is why we use "Tensor" rubbers (European/Japanese style) on the backhand. These rubbers have a "Catapult Effect" (bounciness). They act like a trampoline, giving you the extra speed and spin that your body mechanics cannot produce on its own.
Victor's Rule of Thumb
Your Goal: You want a rubber that is forgiving. You want a setup that allows you to swing fully and incorrectly without the ball flying into the back wall. You need Control > Speed.
Under the Hood: How a Rubber Works (The Physics)
To make the best choice, you need to understand what is actually happening when your racket hits the ball. A rubber sheet isn't just a slab of material; it is a complex system of two distinct layers working together:
The "Dwell Time" Concept
This interaction creates something called "dwell time" - the fraction of a second the ball stays connected to your racket face.
As a beginner, you want equipment that maximizes dwell time so you can actually feel the ball on your paddle.
The Anatomy of a Beginner Rubber
Before we look at specific brands, you need to understand the specs. When you buy a rubber, you usually have to choose a Sponge Thickness and sometimes a Hardness.
1. Sponge Thickness: The "2.0mm" Sweet Spot
The sponge is the engine of the rubber. While thin sponges offer control, going too thin can actually hurt your development.
Recommendation: Buy 2.0mm.
2. Sponge Hardness: Firmer is Better for Habits
There is a misconception that beginners need "marshmallow soft" rubbers. While comfortable, extremely soft sponges can act as a crutch, catapulting the ball over the net with zero effort. This can lead to lazy strokes.
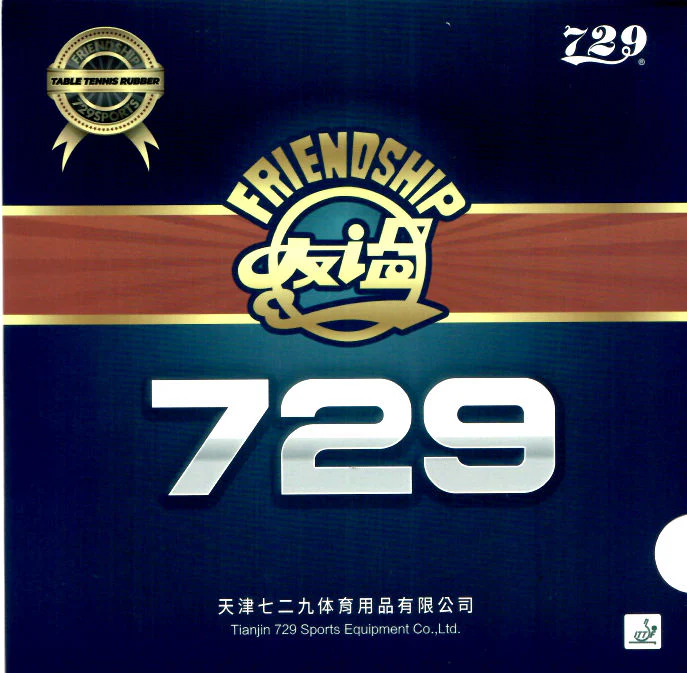
A harder sponge (like the classic Chinese 729 style or medium-hard Euro rubbers) is "honest." It requires you to execute a full, proper swing to get the ball over the net. If you poke at the ball, it will die. This feedback loop forces you to develop strong, active mechanics from day one.
Recommendation: Look for "Medium" or "Medium-Hard" sponges (e.g., Friendship 729 or Mercury II). Avoid ultra-soft rubbers that hide your mistakes.
The Two Paths: Which Rubber is Right for You?
There is no single "best" rubber, but there are two distinct categories suitable for beginners. Choose the path that fits your budget and philosophy.
Path 1: The Recommended Choice: Chinese Sticky & Hard Rubbers
The Philosophy: "I want the best pairing for my beginner blade: more dwell time, lower price, and a long-term investment in my technique."
The Top Pick: Friendship 729 Super FX (Use standard FX for Forehand, 729 Super Soft for Backhand)
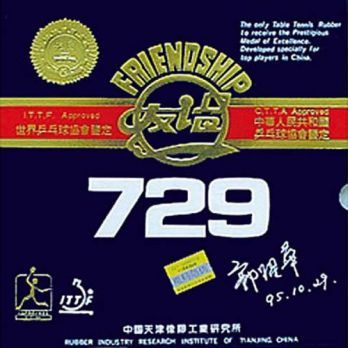
Friendship/729
Super FX
The Cheap Alternative: Yinhe (Galaxy) Mercury II
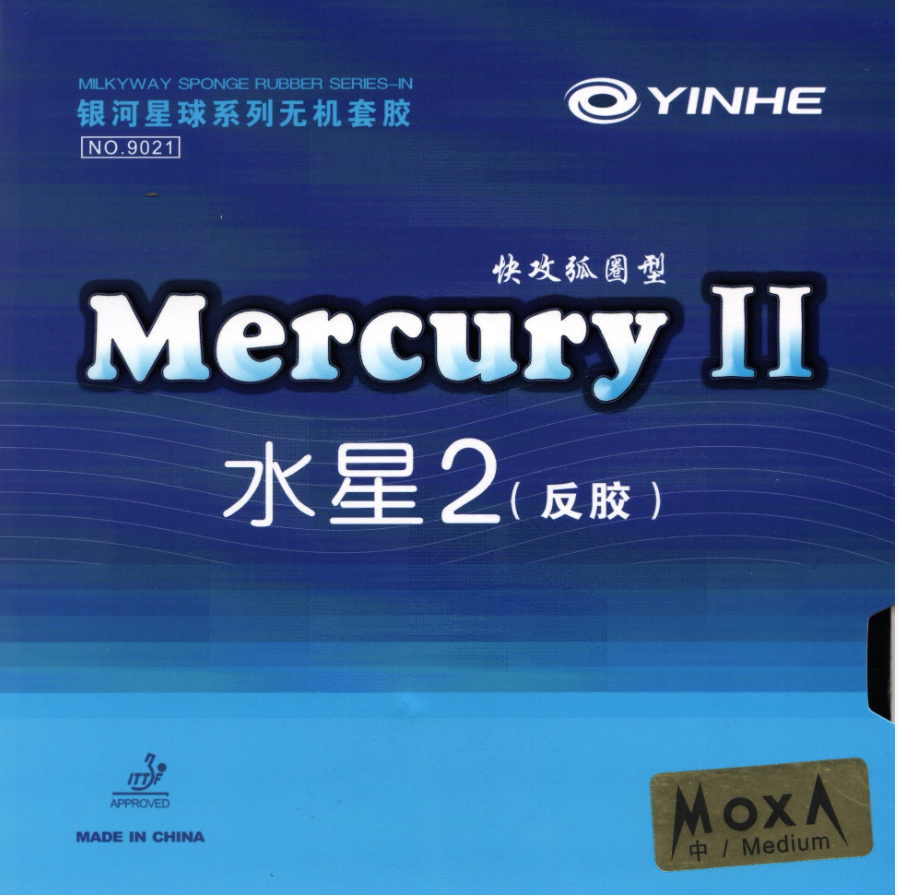
Yinhe (Galaxy)
Mercury
This is my #1 recommendation for beginners and it was my setup for the first year. In our blade guide, we suggested soft, flexible 5-ply wood blades. The best physics pairing for a soft blade is a harder rubber. This combination offers stability - the blade absorbs the vibration, and the harder rubber provides a solid surface to drive through the ball.
Chinese-style rubbers are "tacky" (sticky). This stickiness grabs the plastic ball, increasing dwell time naturally, which is critical for learning to "brush" the ball on serves. Because they are harder and not bouncy, they are slower in the short game, giving you immense control over touch shots.
Pros: Best synergy with beginner blades; unbeatable price ($5-$15); superior for learning spin serves; extremely durable.
Cons: Requires more physical effort as you must swing to generate speed - but this will be an incredible pro in the long term. Remember it's a marathon journey, not a sprint.
Path 2: The Alternative Approach: "Modern" Tensor Style Rubbers
The Philosophy: "I don't like the feel of Chinese equipment, or I can't invest hours every week perfecting my technique. I need a rubber that helps me generate speed."
The Top Pick: Xiom Vega Intro
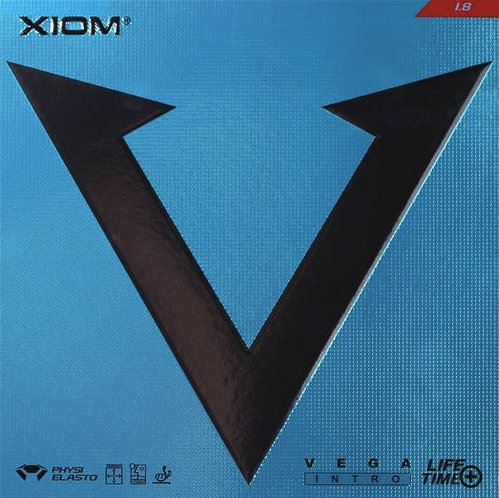
Xiom
Vega Intro
Faster Alternatives: Nittaku Factive, Victas Ventus Regular & Yasaka Rigan
If you want a bit more speed while keeping control, these three are excellent stepping stones. They offer more pace than the Vega Intro while remaining forgiving enough for players still developing their technique.
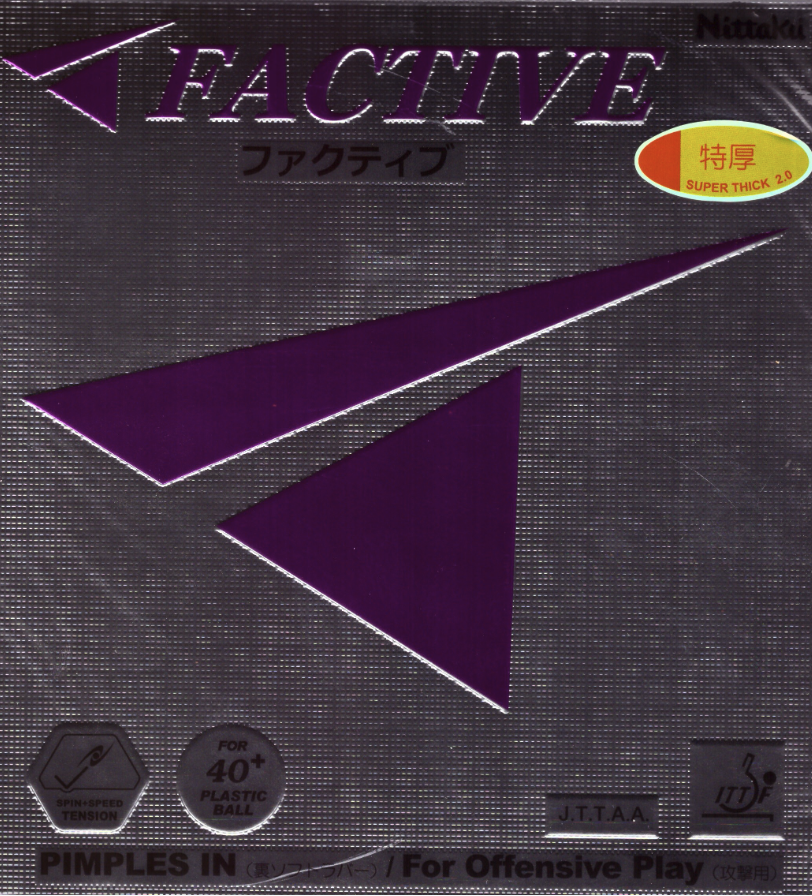
Nittaku
Factive

Victas
Ventus Regular
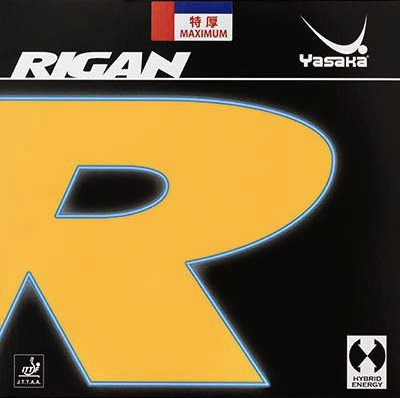
Yasaka
Rigan
This approach is best for players who dislike the "dead" feel of sticky Chinese rubbers or simply want immediate fun without the steep learning curve. If you cannot commit to long-term technique training, you might need a rubber that offers a helping hand.
These rubbers use "Tensor" technology (internal tension) to create a mild trampoline effect. If your stroke isn't perfect or lacks power, the rubber compensates by adding a little "pop" to the ball. While usually more expensive than Chinese rubbers, they can sometimes be found on discount, offering great value for a "Euro" feel.
Xiom Vega Intro is widely considered the best entry in this category. It provides that modern, clicky feel but is dialed back to be controllable for beginners.
Pros: Exciting to play with; "helps" generate speed on lazy strokes; easier to lift backspin against pushers.
Cons: Bouncier in the short game; hides bad technique (which hurts you later if you decide to get serious).
The Perfect Beginner Combo
If you are building your first bat, you don't need the same rubber on both sides. In fact, many players benefit from mixing them.
The "Recommended" Setup (Path 1):
Blade: Yasaka Sweden Extra / Stiga Allround Classic (5-ply wood)
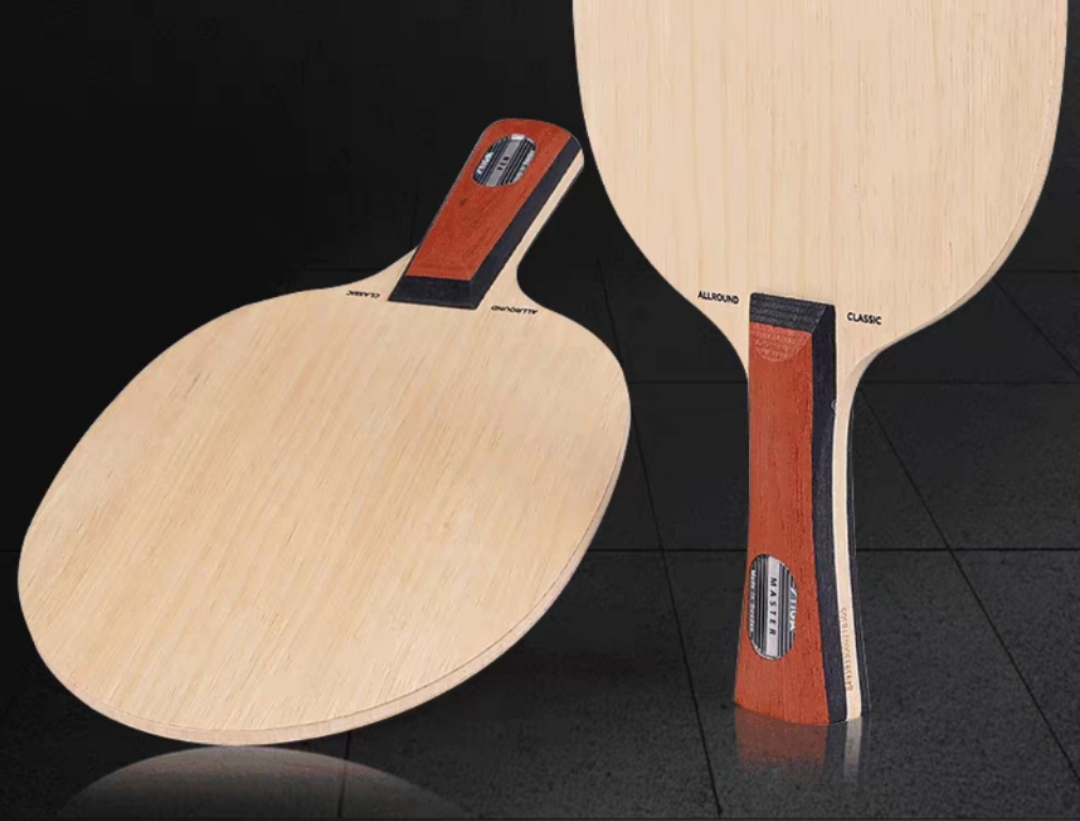
Stiga
Allround Classic
Forehand: Friendship 729 Super FX (Black) - A harder, sticky sponge to develop strong forehand loops and heavy spin serves.
Backhand: Friendship 729 Super Soft (Red) - A much softer version of the classic rubber, providing excellent dwell time and forgiveness for the backhand.
The "Modern" Alternative Setup (Path 2):
Blade: Donic Appelgren Allplay / Yasaka Sweden Extra / Stiga Allround Classic
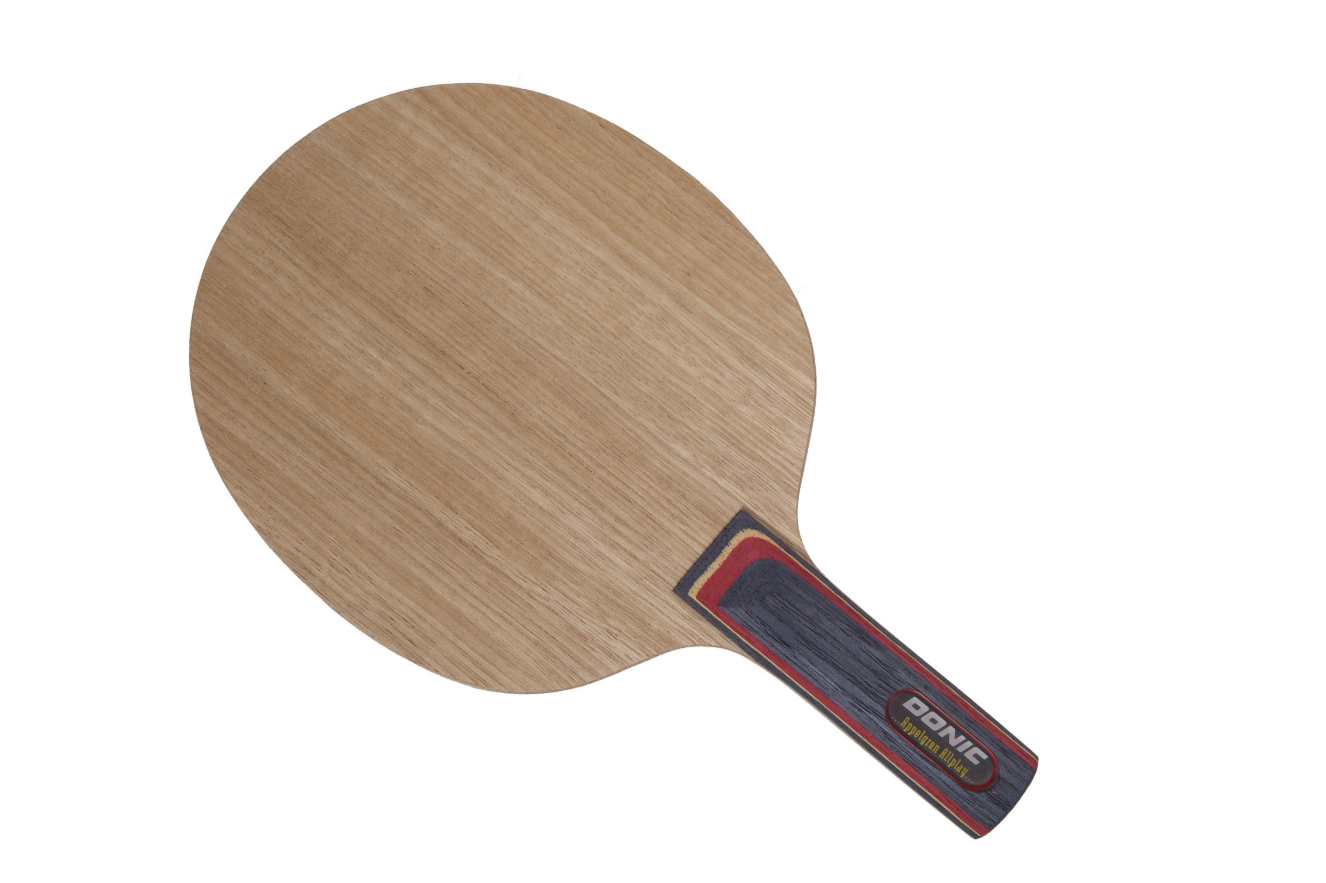
Donic
Appelgren Allplay
Forehand: Xiom Vega Intro (2.0mm) - For players who dislike sticky rubbers and want a modern feel.
Backhand: Xiom Vega Intro (1.8mm) - Slightly thinner sponge for better control on blocks.
Summary Checklist
Before you click "Buy," check this list:
Your first custom rubber isn't your "forever" rubber. It is a training tool. Use it for 6-12 months, master your strokes, and then upgrade to something faster. Your future self will thank you for starting slow.
Ready to pick your blade? Check out our companion guide: Choosing Your First Custom Table Tennis Blade.
Need personalized equipment advice?
I can help you find the perfect blade and rubber setup for your playing style.